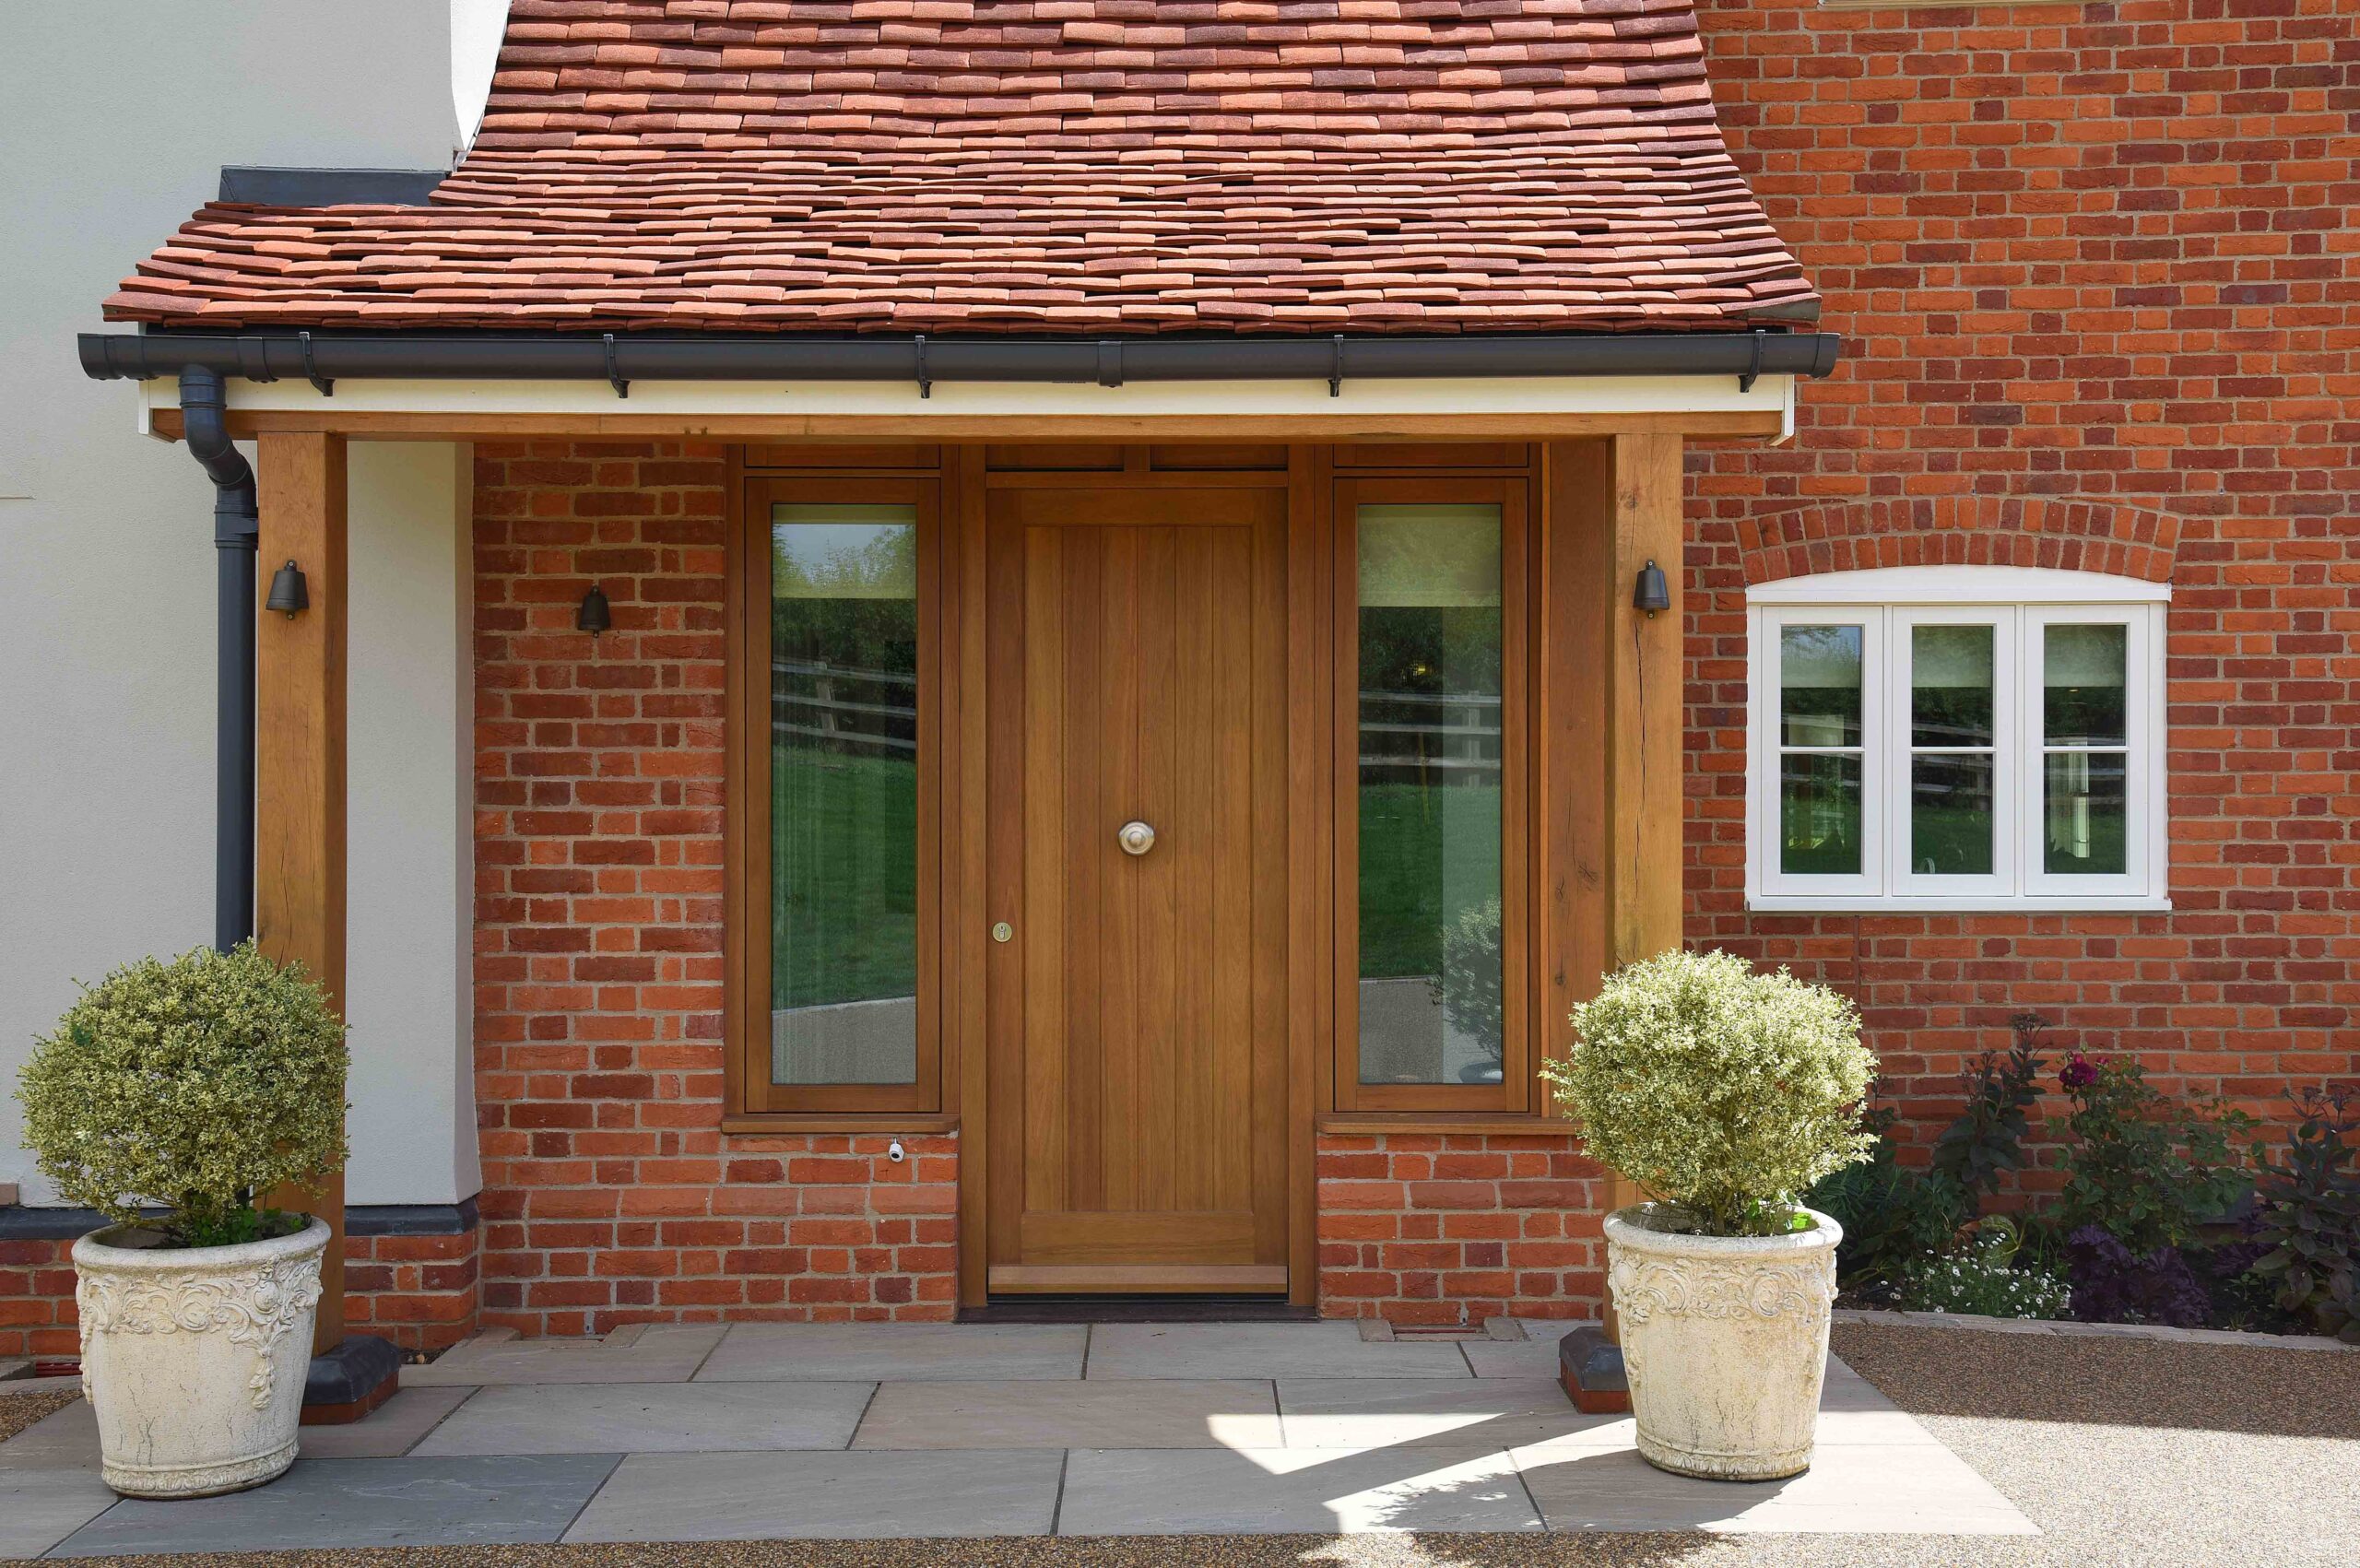
Wooden Door Fitting
Add a review FollowOverview
-
Founded Date June 4, 1977
-
Sectors Telecommunications
-
Posted Jobs 0
-
Viewed 2

Company Description
The 10 Scariest Things About Interior Door Installation
The Comprehensive Guide to Interior Door Installation
Interior doors serve a wide variety of purposes in a home– from offering personal privacy in bed rooms and bathrooms to improving the total visual of an area. Correct installation is important for both performance and aesthetic appeals. Whether changing an old door or setting up a new one, comprehending the steps associated with interior door installation can make the process smoother and more effective. This guide will cover whatever from tools needed to installation choices, while addressing frequently asked concerns along the method.
Why Installing Interior Doors Matters
Before diving into the installation process, it’s necessary to acknowledge the value of quality interior doors. A skillfully installed Wooden Door Specialists can enhance energy effectiveness, lower noise, and increase home security, making it an important part of home design and functionality.
Benefits of Quality Interior Doors
| Benefit | Description |
|---|---|
| Personal privacy | Interior doors supply privacy in bed rooms and restrooms. |
| Energy Efficiency | Insulated doors can enhance temperature control and reduce energy bills. |
| Visual Appeal | Doors contribute substantially to the total interior decoration. |
| Sound Reduction | Solid core doors can lessen sound transfer in between spaces. |
| Security | A sturdy interior door adds an additional layer of privacy and security. |
Tools and Materials Needed
Before starting the installation, collect all essential tools and materials. Here’s a table to help you prepare:
| Tools/Materials | Purpose |
|---|---|
| Measuring Tape | For precise measurements of the Wooden Door Installers Near Me and frame. |
| Level | Ensures the door hangs straight. |
| Screwdriver | To set up the hinges and doorknob. |
| Hammer | For tapping in any completing nails. |
| Chisel | To mortise the door for hinges and locks if needed. |
| Wood Putty | To complete any unwanted gaps and provide a finished appearance. |
| Drill | For making holes for screws and doorknob installation. |
| Hinges | Link the door to the frame. |
| Doorknob/Lockset | For protecting and supplying access to the room. |
| Shims | For leveling the door frame as necessary. |
Step-by-Step Interior Door Installation Process
-
Measure the Door Frame:
- Measure the height and width of the existing door frame. Make sure these measurements match your new door.
-
Purchase the Correct Door:
- Based on your measurements, pick a door that fits the frame. Consider product and style based upon your choices.
-
Prepare the Work Area:
- Clear any challenges in the workspace and collect all tools and products.
-
Get Rid Of the Old Door:
- Use a screwdriver to get rid of the existing hinges and remove the door.
-
Install Hinges on the New Door:
- If your new door doesn’t come pre-drilled for hinges, mark and chisel out area for them. Attach the hinges utilizing screws.
-
Set Up the Door Frame:
- Position the door within the Experienced Door Installers frame, using shims to guarantee it’s level and plumb. As soon as in position, repair the hinges to the door frame.
-
Connect the Doorknob and Lockset:
- Follow the manufacturer’s directions to set up the doorknob and lockset.
-
Last Adjustments:
- Make any needed modifications to make sure the Exterior Door Installers opens and closes efficiently. Look for any gaps and fill them with wood putty if needed.
-
Paint or Stain:
- If wanted, complete the door with paint or stain to match your interior decor.
-
Tidy Up:
- Dispose of any particles and admire your tough work!
Common Mistakes to Avoid
| Mistake | Description |
|---|---|
| Not Measuring Properly | Inaccurate measurements can cause an uncomfortable Door Installation Professionals. |
| Overlooking Leveling | A misaligned door can hinder function and aesthetics. |
| Avoiding Safety Gear | Always use protective equipment when using power tools. |
| Stopping Working to Pre-Drill Holes | This can trigger the wood to divide during installation. |
| Neglecting Space for Expansion | Custom Wooden Doors need space to broaden and contract with humidity modifications. |
Often Asked Questions (FAQ)
Q: How long does it require to set up an interior door?
A: The time required for installation can vary based on experience and preparation, but usually varies from 1 to 3 hours.
Q: Do I require a professional to set up an interior door?
A: While lots of property owners can deal with the job themselves with the right tools and persistence, employing a professional can ensure precision and conserve time.

Q: What kind of door should I select?
A: It depends on your requirements and choices. Solid wood provides sturdiness and sound insulation, while hollow-core doors are more lightweight and affordable.
Q: Can I set up a door without removing the old frame?
A: Yes, a “pre-hung” door can be set up straight in the old frame, offered it remains in good condition.
Q: How do I ensure my door is energy efficient?
A: Look for doors manufactured with energy-efficient materials and weather condition stripping to decrease drafts and enhance insulation.
Installing an interior door might seem daunting, however with proper preparation and adherence to the laid out steps, house owners can attain professional results without the requirement for a specialist. The process enhances not just the performance of a home however also adds to its aesthetic appeal. Equipped with this understanding, anybody can tackle their interior door installation project with confidence. Keep in mind to take your time, step precisely, and manage tools safely to ensure a successful installation. Delighted DIYing!