
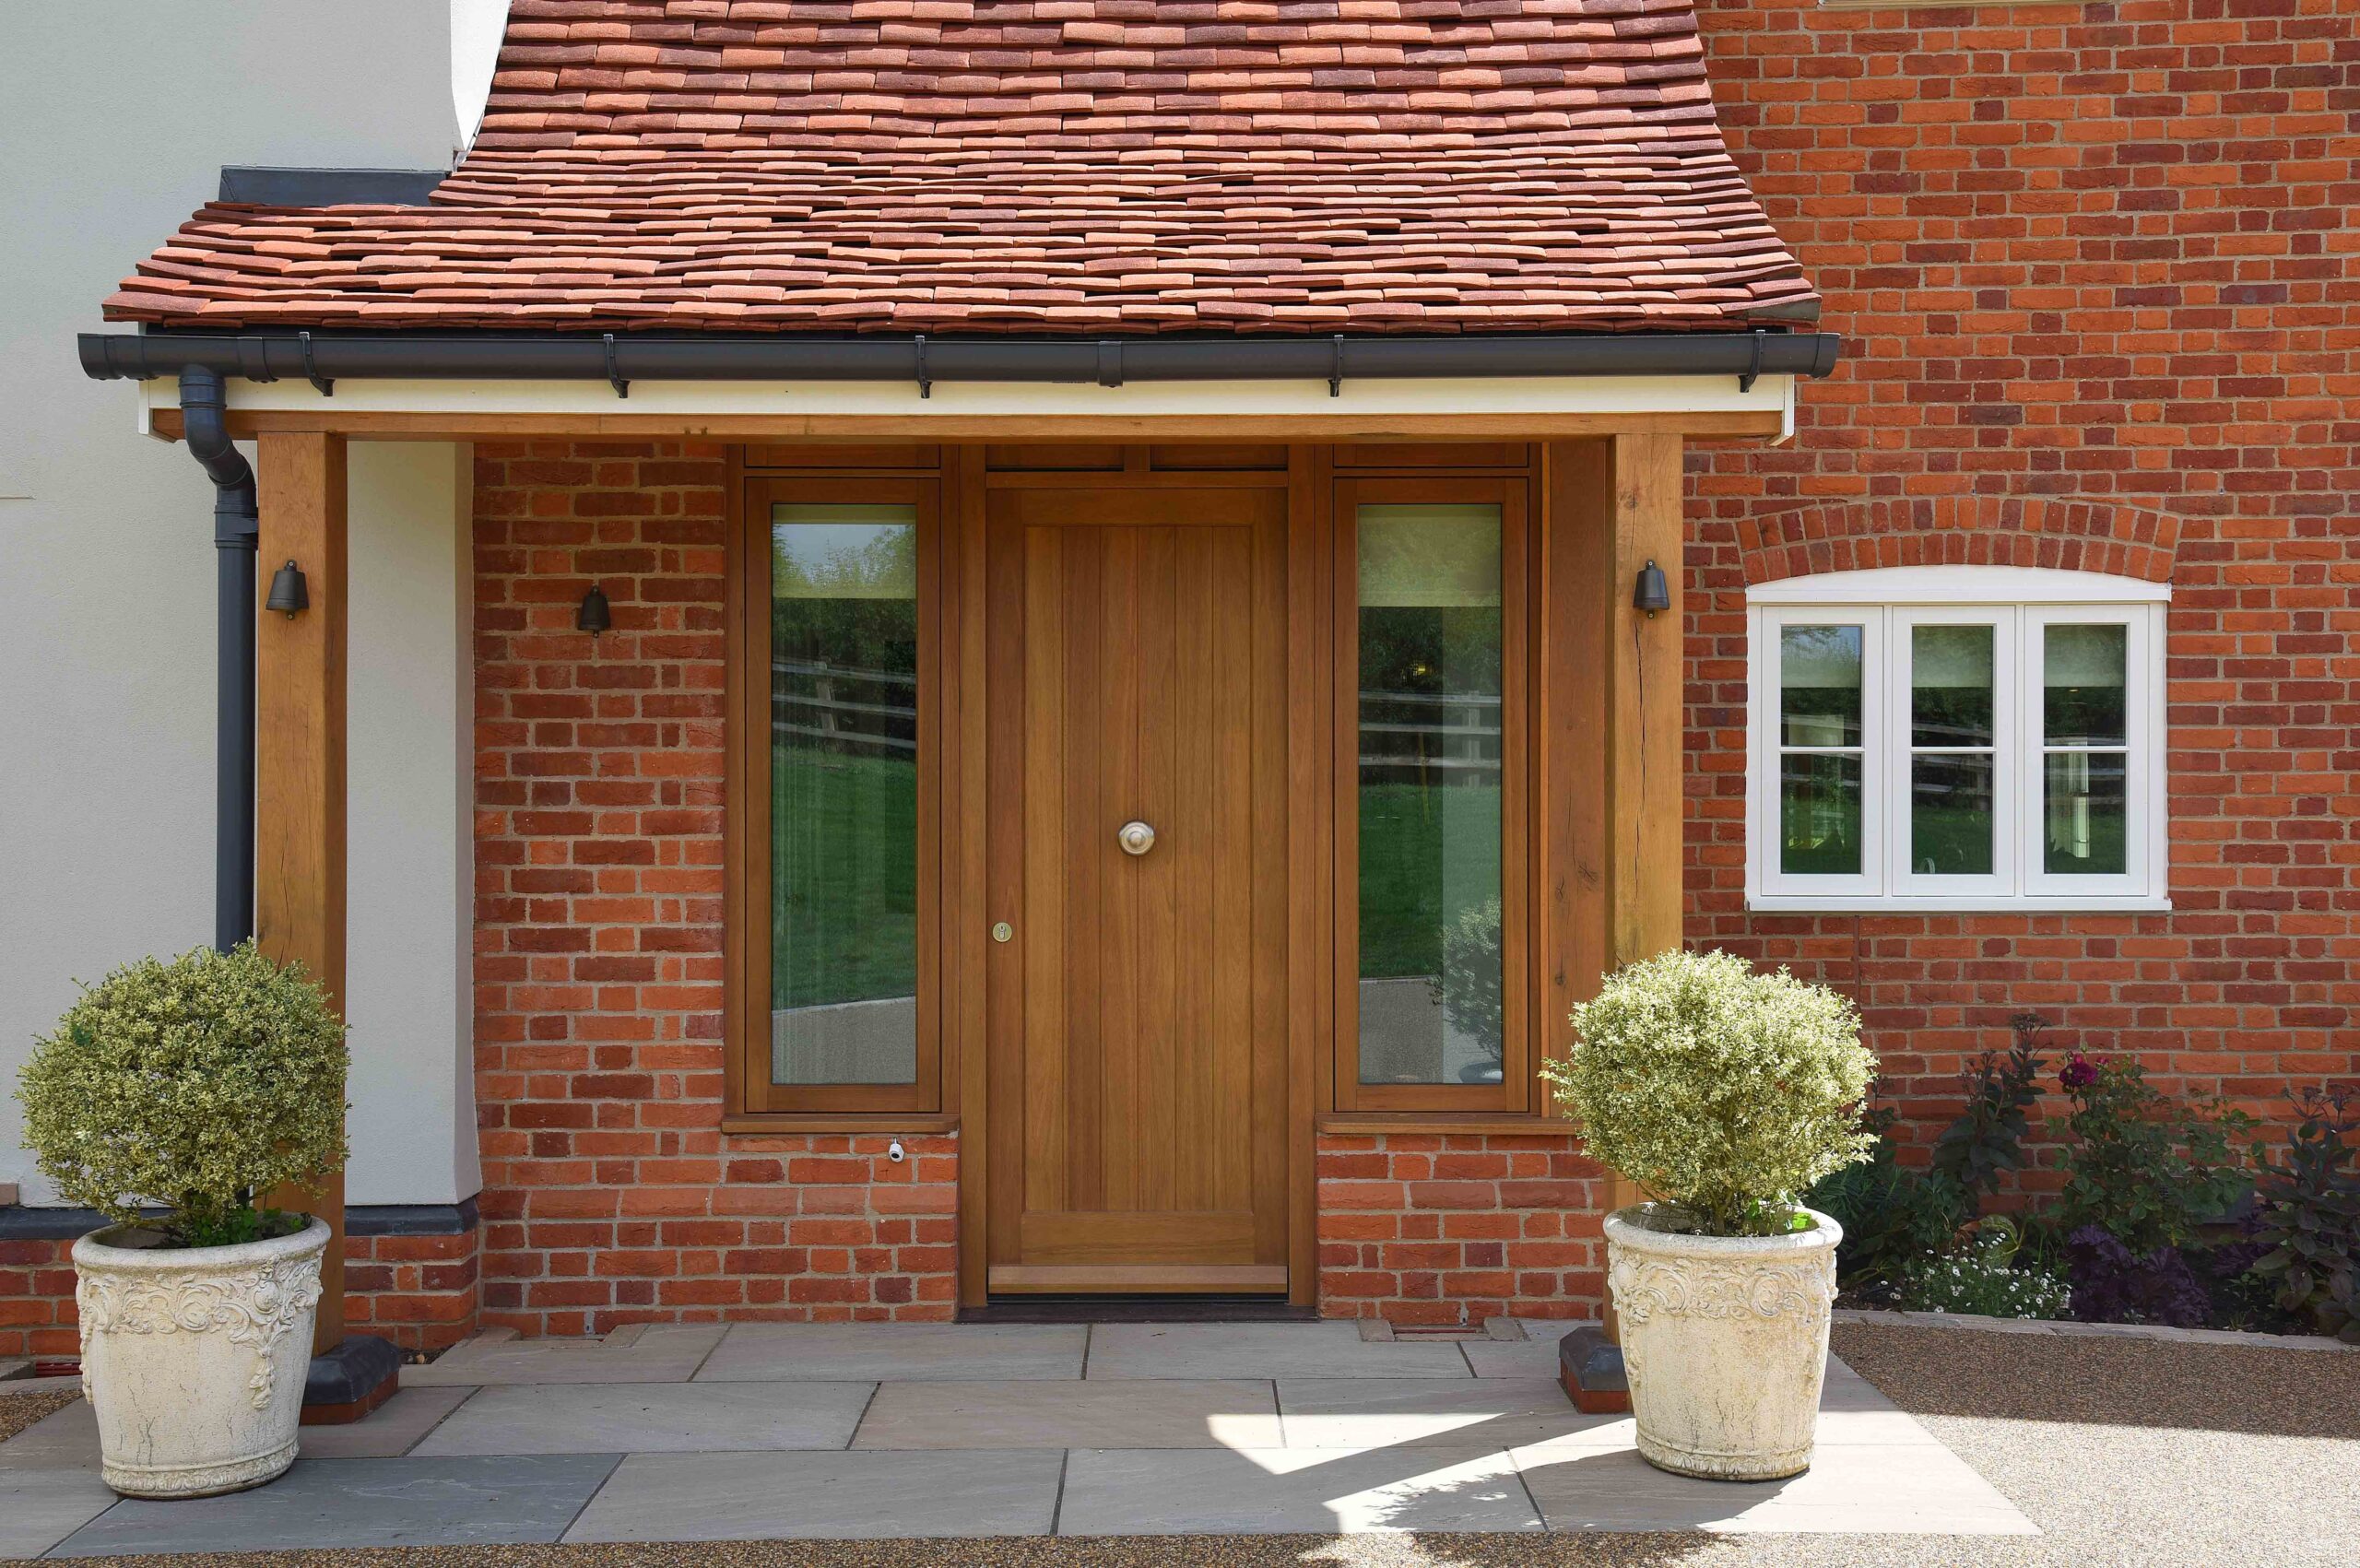
Custom Wooden Doors
Add a review FollowOverview
-
Founded Date December 12, 1977
-
Sectors Accounting / Finance
-
Posted Jobs 0
-
Viewed 1

Company Description
Wooden Entry Door Installation Tools To Make Your Daily Life Wooden Entry Door Installation Trick That Every Person Should Know
A Comprehensive Guide to Wooden Entry Door Installation
Intro
Setting up a wooden entry door can enhance the visual appeals of your home while providing security and insulation. A well-placed wooden door can substantially increase curb appeal and include value to any home. Whether you’re an experienced DIY enthusiast or a homeowner looking to update your entrance, this guide lays out everything you require to learn about wooden entry door installation.
Why Choose a Wooden Entry Door?
Before diving into the installation process, let’s briefly explore the benefits of Wooden Door Styles entry doors:
Advantages of Wooden Entry Doors
| Benefit | Description |
|---|---|
| Aesthetic Appeal | Wooden doors use a timeless, warm look that can enhance any architectural style. |
| Energy Efficiency | Wood is a natural insulator, resulting in much better temperature level policy in homes. |
| Modification Options | Wooden doors can be quickly tailored in terms of size, shape, and surface. |
| Resilience | With correct upkeep, wooden doors can last for years. |
| Security | Solid wood supplies excellent security against forced entry. |
Getting ready for Your Installation
Tools and Materials Needed
Before beginning, ensure you have the following tools and materials:
| Tools | Products |
|---|---|
| Screwdriver | Wooden entry door |
| Level | Hinges |
| Measuring tape | Door shims |
| Saw (if trimming is needed) | Wood screws |
| Hammer | Weatherstripping |
| Drill | Door deal with and lock set |
| Security goggles | Paint or finish (optional) |
Measurements
- Procedure the Door Frame: Use a measuring tape to determine the height and width of the existing door frame.
- Examine the Depth: Measure the thickness of the frame, which usually varies in between 4-6 inches.
- Door Size: Buy a door that carefully matches the measurements of your frame. If you’re unsure, it’s much better to pick a slightly larger Licensed Door Installers, as it can be trimmed.
Step-by-Step Installation Guide
Step 1: Remove the Old Door
- Loosen the Hinges: Use a screwdriver to remove the screws from the hinges on the old door.
- Take the Door Off: Carefully lift the door from the hinges and set it aside.
Action 2: Prepare the New Door
- Trim if Necessary: If the New Door Installation door is too large, utilize a saw to cut it to the needed size. Take your time to make sure a straight edge.
- Set up the Hinges: Mark the hinge areas based on the old door and set up the hinges on the new door.
Action 3: Fit the New Door
- Position the Door Repair Specialists: Align the new door with the hinges in the door frame.
- Attach Hinges: Secure the door by screwing the hinges into the frame. Use a level to make sure the door hangs straight.
Step 4: Secure and Seal
- Install the Lock: Follow the producer’s guidelines to fit the lock and manage.
- Change with Shims: If there are gaps, use door shims to adjust the fit and prevent warping or drooping.
- Seal Gaps: Apply weatherstripping around the door’s edges for much better insulation and energy performance.
Step 5: Finish the Door
- Add Finishing Touches: Apply paint or stain as desired. If you prefer, avoid this step for a natural wood appearance or a pre-finished item.
- Check the Door: Open and close the door several times to examine for smooth operation.
Upkeep Tips for Wooden Entry Doors
To prolong the life of your wooden entry door, consider the following maintenance practices:
Regular Maintenance Checklist
| Task | Frequency |
|---|---|
| Examine for fractures or splinters | Every year |
| Repaint or stain as needed | Every 3-5 years |
| Inspect hinges for rust | Semi-annually |
| Clean with mild soap and water | Regular monthly |
| Apply wood conditioner | Twice a year |
Frequently Asked Questions about Wooden Entry Door Installation
Q1: Can I install a wooden door by myself?
A1: Yes, if you have basic carpentry skills and the right tools, you can set up a wooden door yourself. Nevertheless, assistance from a good friend or household member can be beneficial.
Q2: Do I require a special type of wood for my entry door?
A2: While lots of types of wood can be utilized, oak, mahogany, and cedar are popular options since of their toughness and resistance to weathering.
Q3: How do I choose the best size door?
A3: Measure the door frame before purchasing a new door. It’s recommended to select a door slightly bigger than your frame as it can be trimmed to fit.
Q4: How long does the installation process take?
A4: Depending on your ability level and whether or not you are painting or staining the door, the installation can take anywhere from 2-4 hours.
Q5: What can I do if my door is drooping?
A5: If your door is drooping, examine if the hinges are tight and adjust with shims if required. If the door is still drooping, you might require to straighten the hinges by rearranging them.
Setting up a wooden entry door can be a pleasing task that enhances both the charm and functionality of your home. With the right tools, products, and a thoughtful approach, you can install your door and enjoy its benefits for several years to come. Keep in mind to maintain it properly to guarantee it stays in excellent condition. Whether you’re tackling this as a DIY task or working with a professional, this guide will help set you on the best path. Delighted installing!
